– Sir Ken Robinson

Recent Blog Post
Lorem ipsum dolor sit amet, consectetur adipisicing elit. In dolor, iusto doloremque
quo odio repudiandae sunt eveniet? Enim facilis laborum.

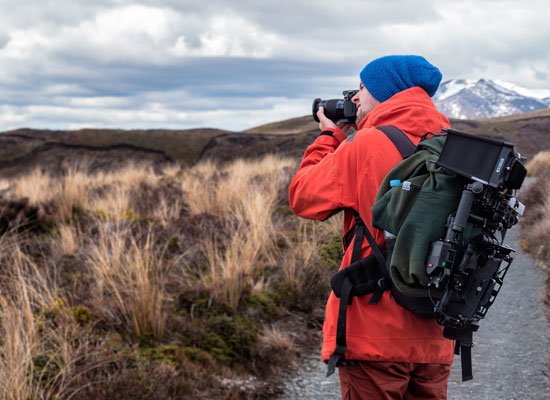
My go-to ways to get more off the beaten track while traveling
Maecenas pharetra risus sit amet gravida fermentum. Mauris vitae magna maximus, tempus neque ac, feugiat…
“The Ultimate Packing List for Campers” is locked
Maecenas pharetra risus sit amet gravida fermentum. Mauris vitae magna maximus, tempus neque ac, feugiat…
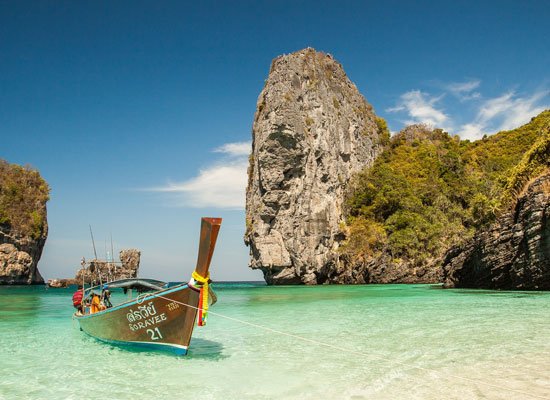
What to see in Bali: 9 Off The Path Bali highlights for adventurers!
Etiam id ex at erat fermentum luctus maximus et justo. Aenean ultricies faucibus sagittis. Etiam…
Sign up for the best travel tips and adventures!
Quas alias velit soluta voluptatum Etiam officiis praesent quidem, neque.
Featured Destination
Lorem ipsum dolor sit amet, consectetur adipisicing elit. In dolor, iusto doloremque
quo odio repudiandae sunt eveniet? Enim facilis laborum.
AFRICA
Mysterious Chefchaouen: The Blue Pearl Of Morocco
ASIA
Varius lectus, rhoncus laboriosam, placeat id
SERBIA
Eleifend, provident urna vivamus vitae tortor.
OCEANIA
Auctor aperiam ante repellat atque, facilis Sint.
Reader’s Thoughts

Derrick

Daniel Rome